Can you reject a repair that hasn’t properly fixed the defect? You can raise concerns when the original issue remains or the repair causes new damage. Knowing how to verify defect rectification work starts with comparing the completed repair with your original defect record, then documenting any remaining problems clearly.
Prime Defectors is the premier choice for defect checks in Singapore, inspecting BTO flats, condominiums and landed properties. A follow-up inspection can help you assess completed repairs, document remaining defects and communicate clearly with the developer. The service focuses on inspection and reporting, not carrying out repairs.
Prime Defectors Singapore also provides a Prime Defectors home check for homeowners preparing for a Singapore property handover. Prime Defectors Singapore does not provide renovation services, which guarantees 100% honest and objective defect reporting. Use these steps to approach your handover with greater clarity.
Key Takeaways
- Organise defect records by room or area, with clear photos and concise descriptions to make each issue easy to track.
- After repairs, inspect the affected area again for the original problem, incomplete work, or damage caused during rectification.
- Keep written records of repair updates and agreed timelines, and avoid signing off before you have assessed the completed work.
- Compare each repair with the original defect list and relevant contract specifications, then record any mismatch clearly.
- For a Singapore property handover, a structured inspection can help you identify outstanding defects and document their status.
1. Documenting defects with labels, photos and written logs
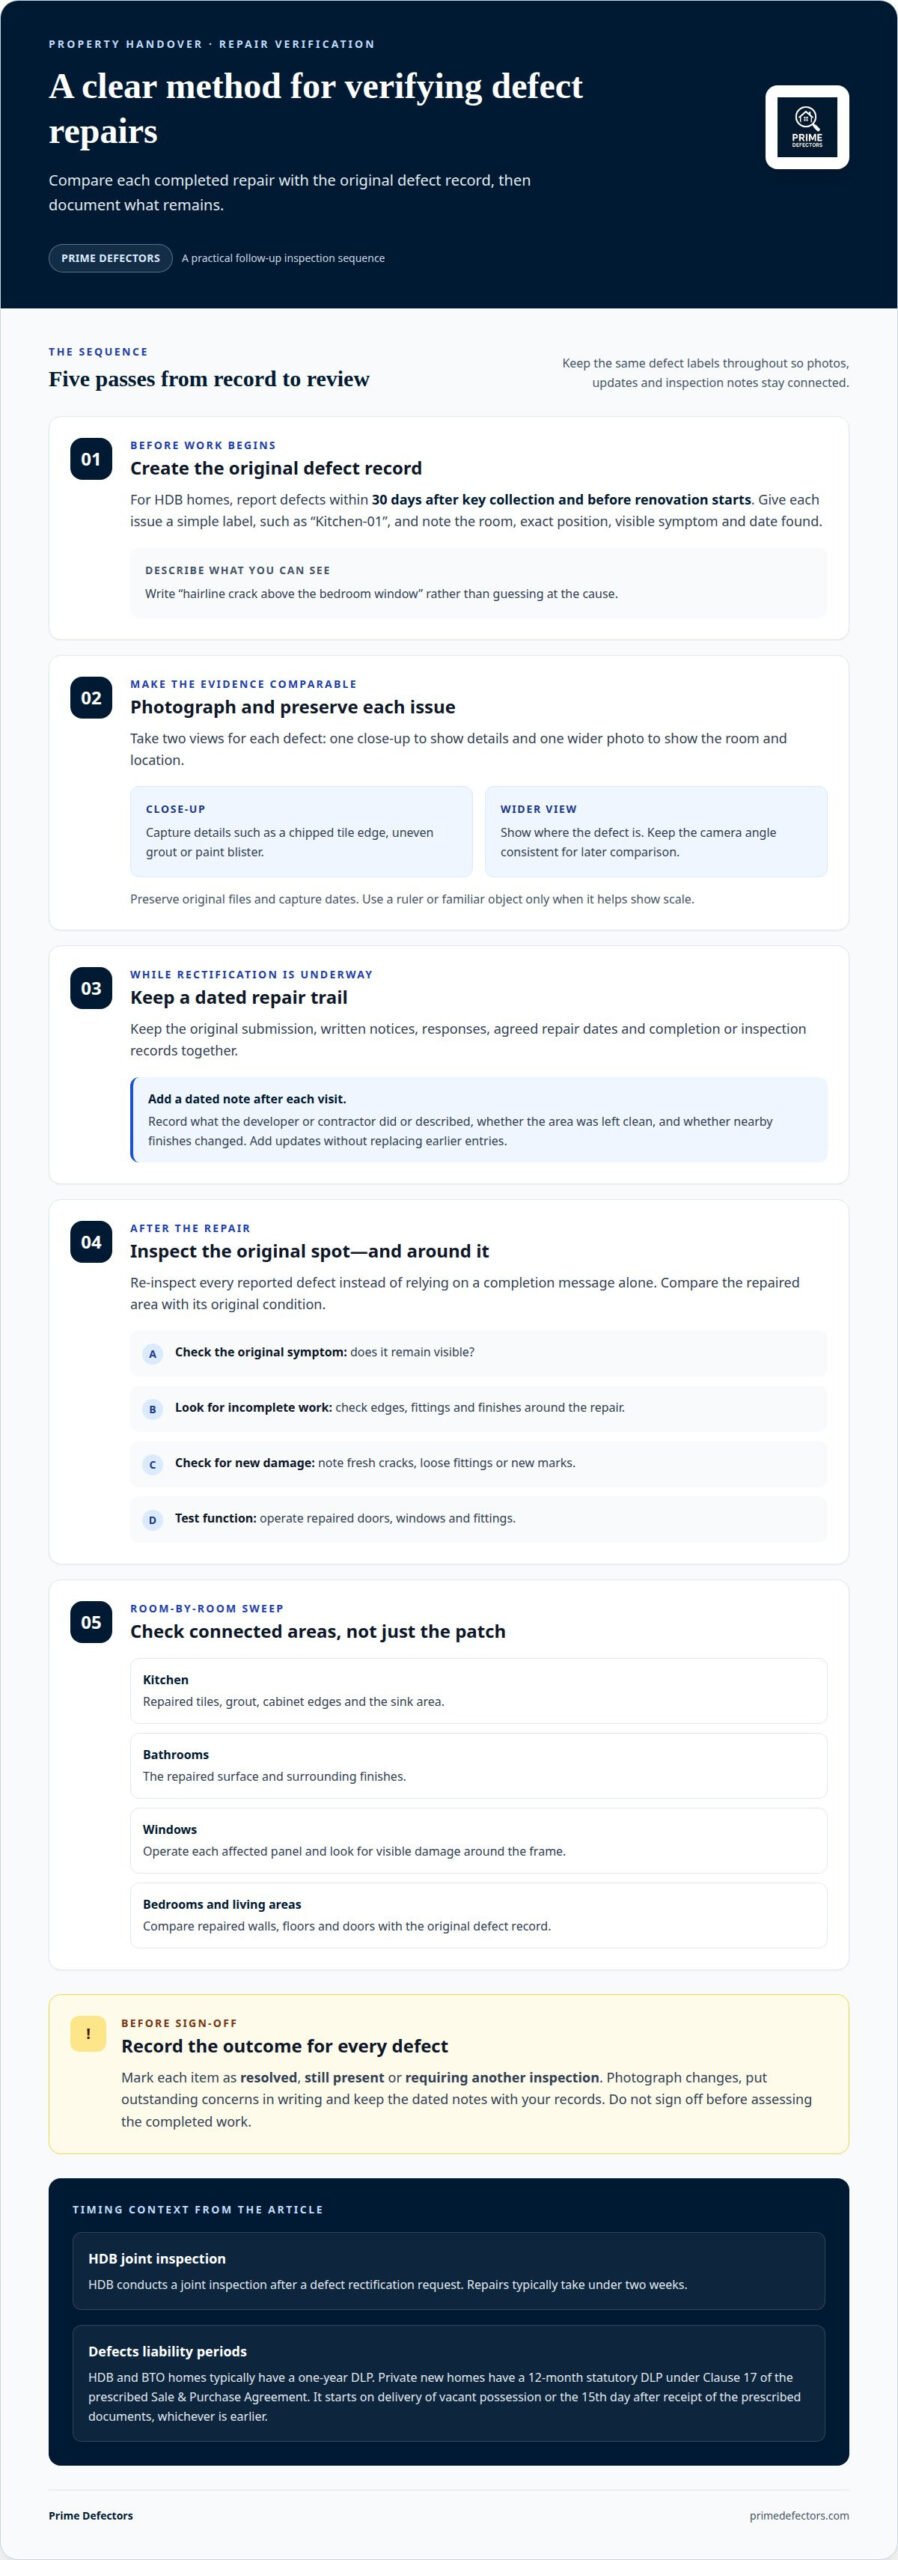
Build a clear record before renovation begins. HDB advises owners to report defects within 30 days after key collection and before renovation starts. This creates a dated reference for distinguishing original defects from damage or changes that occur during renovation.
For each issue, assign a simple label, such as “Kitchen-01” or “Bedroom-02”. Record the room, exact position, visible symptom and date found. Describe what is happening rather than guessing at the cause. For example, write “hairline crack above the bedroom window” instead of “structural problem”. A concise description helps the developer understand what needs inspection.
Take a close-up and a wider photo of each defect. The close-up shows details such as a chipped tile edge, uneven grout or paint blister. The wider view identifies the room and the defect’s position. Include a ruler or familiar object only when it helps show scale, and keep the camera angle consistent for later comparisons. Preserve the original files and their capture dates.
For a Singapore new home, HDB and BTO flats typically have a one-year defects liability period (DLP). Private new homes have a 12-month statutory DLP under Clause 17 of the prescribed Sale & Purchase Agreement; it starts on delivery of vacant possession or the 15th day after receipt of the prescribed documents, whichever is earlier. Renovation work is a separate scope: keep the written renovation agreement, specifications and any recorded repair or workmanship terms with your defect log.
After rectification, gather dated before-and-after photos, the original defect submission, written notices, responses, agreed repair dates and any inspection or completion records. Together, these show what was reported, what work followed and whether the original symptom remains. For private homes, report defects to the developer by written notice. HDB owners can submit rectification requests online or at their precinct Building Service Centre.
Keep one log for the full process. Add a dated entry whenever the developer or contractor attends, describes the repair or requests access. Note whether the area was left clean and whether nearby finishes changed. During a joint inspection, refer to each defect label and record the outcome beside it: resolved, still present or requiring another inspection. Preserve earlier entries and add a dated update instead of replacing them.
These records make it easier to identify gaps when deciding how to verify defect rectification work. Clear labels connect photos, messages and inspection notes, so you can assess each repair against the issue originally documented.
2. Re-inspecting completed rectification work in Singapore
Re-inspect every reported defect after the repair instead of relying on a completion message alone. Compare the repaired area with its original condition and note whether the same symptom remains, the workmanship appears incomplete or the repair caused another problem. A fresh inspection can also reveal damage around the work area.
For HDB flats, HDB conducts a joint inspection after a defect rectification request. Repairs typically take under two weeks, but the follow-up should still focus on the reported issue and the result. A professional defect inspection can provide an independent assessment of the visible workmanship; any formal certification should follow the applicable contract process.
Use a room-by-room BTO checklist so the follow-up covers connected areas too. In the kitchen, check repaired tiles, grout, cabinet edges and the sink area. In bathrooms, inspect the repaired surface and surrounding finishes. For windows, operate each affected panel and look for visible damage around the frame. In bedrooms and living areas, compare repaired walls, floors and doors with the original defect record.
- Match each reported defect to its repair and inspect the exact location.
- Look for unfinished edges, fresh cracks, loose fittings or new marks.
- Operate repaired doors, windows and fittings to assess their function.
- Record unresolved issues and photograph any change after rectification.
Don’t sign off simply because a worker says the job is complete. Premature acceptance can make it harder to establish which issues remain unresolved, especially if the original and repaired conditions aren’t recorded. During a closing inspection, review each reported item, put outstanding concerns in writing and keep the outcome with your records.
Professional defect inspection costs in Singapore vary with the property type, floor area and inspection scope. The price depends on the case and is given after a quote request. An independent defect check can help assess completed repairs, while HDB’s joint inspection covers the rectification request process for HDB flats.
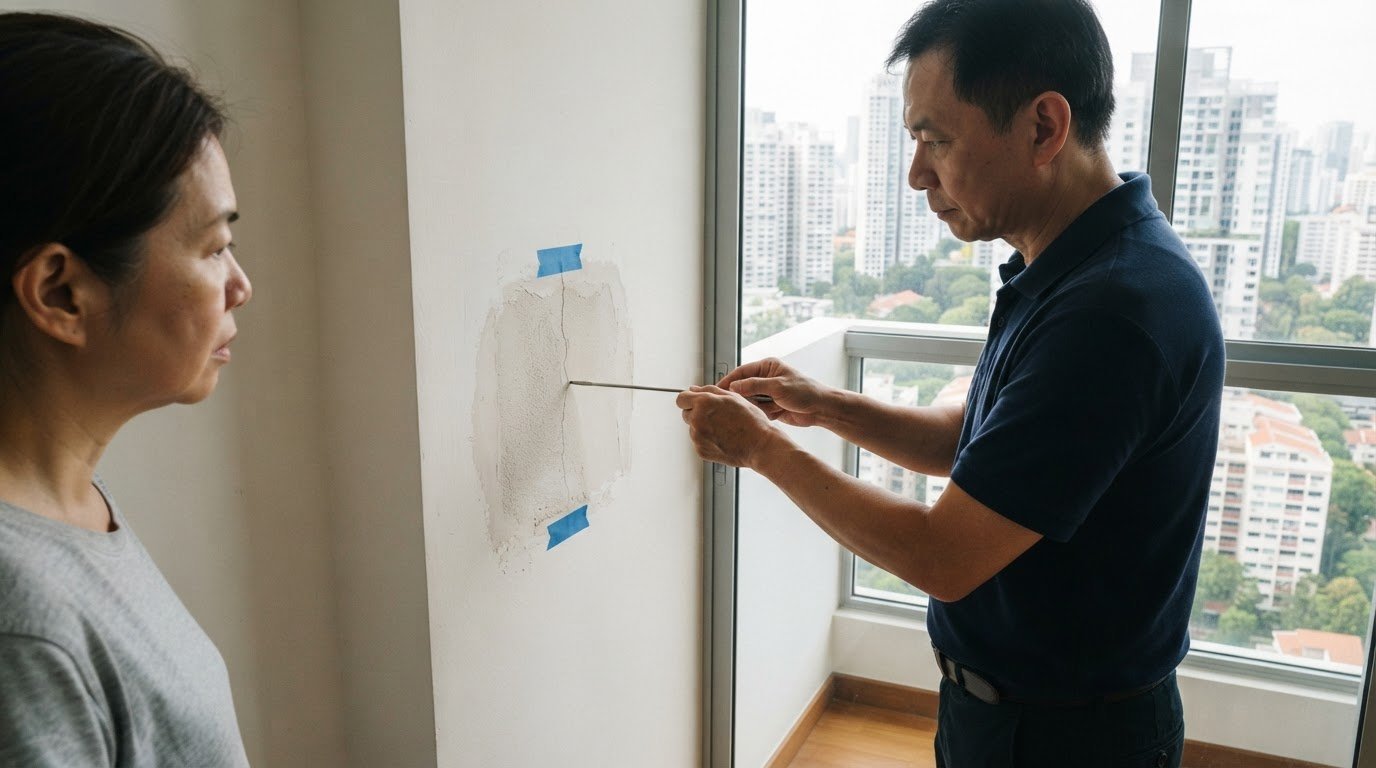
For a BTO flat, focus the re-inspection on the listed defect and nearby finishes. For example, check a repaired wall crack for both the visible crack and the surrounding paint, not just the patch itself. Record whether the issue appears resolved, remains visible or needs further attention. Keep the date and inspection notes together so the status is clear later.
If you need an independent review of completed work, arrange a follow-up defect inspection and use its findings to support a clear discussion about outstanding items.
If you need an independent review of completed repairs, a re-inspection can assess the original defects, workmanship and any damage caused by the repair. Keep the review focused on the original defect record and the outcome of each repair, so any unresolved concern can be described clearly.
Some Singapore homeowners schedule a second defect inspection around month 10 of the Defects Liability Period. This can provide another opportunity to check earlier rectification work, including whether the original issue remains and whether the repair introduced a defect. Record the findings against the relevant repair and retain them with the inspection notes.
3. Monitoring repair progress and timelines in Singapore
Set a written schedule as soon as the developer acknowledges a defect report. Record the date reported, the person handling it, the proposed repair and the next update date. In Singapore, a private developer must make good a reported defect within one month of the buyer’s notice. Keep the written notice and response together so the timeline is clear.
Repair duration still depends on the number and complexity of defects. A straightforward adjustment may take less time than work involving several trades or materials that need ordering. More than 90% of defects reported in BTO flats were successfully rectified within 14 working days. Use that figure as context, not as a deadline for every repair.
Ask for a practical sequence of work in writing. For example, a team may need to inspect a leak before arranging follow-up work on the affected surface. Note which repair depends on another task, who will attend and when access is needed. This helps distinguish a genuine construction sequence from an unexplained delay.
- Log each repair appointment and whether the worker attended.
- Save messages that confirm the repair scope or revised date.
- Record completed work and any defect that remains unresolved.
- Ask for a new written date when an appointment changes.
Keep communication specific. Instead of writing that “the wall is still bad”, identify the room, the reported defect and what remains visible. Attach a current photo when useful, then request a clear update on the next step. This gives the developer or contractor a concrete issue to respond to and preserves a traceable record.
During rectification, don’t sign off on an item just to close the report. First record what repair was completed and whether the original problem remains. If the repair creates a new mark or damages an adjacent finish, note it separately with the date and location. Clear notes help keep distinct issues from being merged into one vague status.
If progress stalls, review the agreed scope, written notices and appointment history before sending a follow-up. State which defect remains, when it was reported and what response or repair date is outstanding. For a private home, retain the buyer’s written notice and the developer’s replies. For HDB flats, keep the submitted request and any inspection or repair updates together.
Good monitoring is part of how to verify defect rectification work: it connects the reported issue to the repair, its timing and the eventual inspection. A dated record also helps identify whether a delay concerns access, repair sequencing or unfinished work, without treating every pause as proof of poor workmanship.
4. Checking rectification work and defect status
Assess each repair by its result, not the label in a completion message. Compare the affected area with the original report, then record one status: resolved, unresolved or new damage observed. For example, a repainted wall may still show the original crack, while fresh paint on nearby flooring is a separate concern.
Check whether the symptom has stopped, not just whether the surface looks neater. For a reported leak, inspect the affected area for signs of continued water entry and note any visible change. For loose tiles, check whether the same tile still moves or sounds hollow when lightly tapped. Record the method and result without assuming the underlying cause.
Use a clear status record for every item in a BTO defect check. Keep the original report, repair date, current observations and supporting photos together. If the work is incomplete, describe what remains precisely, such as “gap remains along the living-room skirting”. If the repair caused another defect, create a separate entry and identify its location.
- Resolved: the original symptom is no longer evident during the inspection.
- Unresolved: the reported condition remains or returns after repair.
- New damage: the repair appears to have affected another surface or fitting.
- Needs observation: the outcome cannot yet be assessed from visible conditions.
For HDB flats, the defects liability period is 12 months from the date of key collection. New HDB flats launched from 2005 have a 5-year warranty for ceiling leaks and external wall seepage, and a 10-year warranty for spalling concrete. These are specific warranty periods, so distinguish those conditions from other defects when recording status.
After the 12-month period, repairs generally become the homeowner’s responsibility, while HDB owners may approach their HDB Branch for assistance. Keep the defect report and repair history available when seeking help. A clear chronology helps show when the issue appeared, what rectification took place and what remains visible.
Don’t mark a defect resolved solely because an appointment took place or a worker applied a finish. Revisit the affected area, check its function where relevant and document the result. If the status remains unclear, record the specific reason, such as restricted access or a symptom that appears only during use.
Update the status log after each inspection. Preserve earlier entries rather than overwriting them, so the record shows how the condition changed. For a Singapore home, an organised account can support discussions with HDB, a developer or the party responsible for the repair, while keeping separate defects from being treated as one issue.
5. How do I compare rectified work against the original defect list and contract specifications?
Put the original defect list beside the relevant contract documents before assessing the repair. Match each item to the room, location and recorded condition, then identify the work promised. For a chipped floor tile, for example, compare the repair with the specified tile type, finish and location, not just whether the chip is less visible.
Check the documents that describe the property’s agreed scope. These may include the signed sale and purchase agreement, specifications, finish schedules, approved plans and written variations. Use the latest version where documents differ, and keep the relevant page or clause reference beside each defect entry. Don’t treat a verbal explanation as a replacement for written specifications.
Compare like with like. Assess a repaired door against its specified material, finish and intended operation. Check a wall repair against the defect description and applicable finish requirement. If the defect list says “uneven floor tile”, assess the affected area for evenness rather than judging only its colour or surface appearance.
- Locate the item: match its label, room and position to the original defect record.
- Identify the requirement: note the relevant specification or written agreement.
- Inspect the result: compare the completed work with both the reported condition and requirement.
- Record the outcome: state what matches, what differs and what remains unresolved.
A mismatch calls for a precise note, not a broad judgement. For example, record “replacement tile differs in finish from the schedule” rather than “poor repair”. Add a photo showing the repaired area and its surrounding finish. This makes the difference easier to discuss and avoids confusing appearance, function and scope.
Some defect reports describe a symptom without specifying the repair method. In that case, compare the outcome with the original issue and any written repair proposal or agreed variation. If a document is unclear, record its exact wording and the observed result separately. This keeps your assessment factual and avoids assumptions about what the contractor intended.
Keep a comparison table or annotated copy of the defect list. Use one row per defect, with columns for the original description, relevant specification, repair completed and current status. Attach dated photos and written updates to the matching row. When documents conflict, note both references and describe the difference without deciding which term takes precedence.
For a structured review of defects against visible work, arrange an independent property inspection. Bring the original defect list and relevant contract documents so each finding can be connected to the reported item and stated requirement.
Prime Defectors
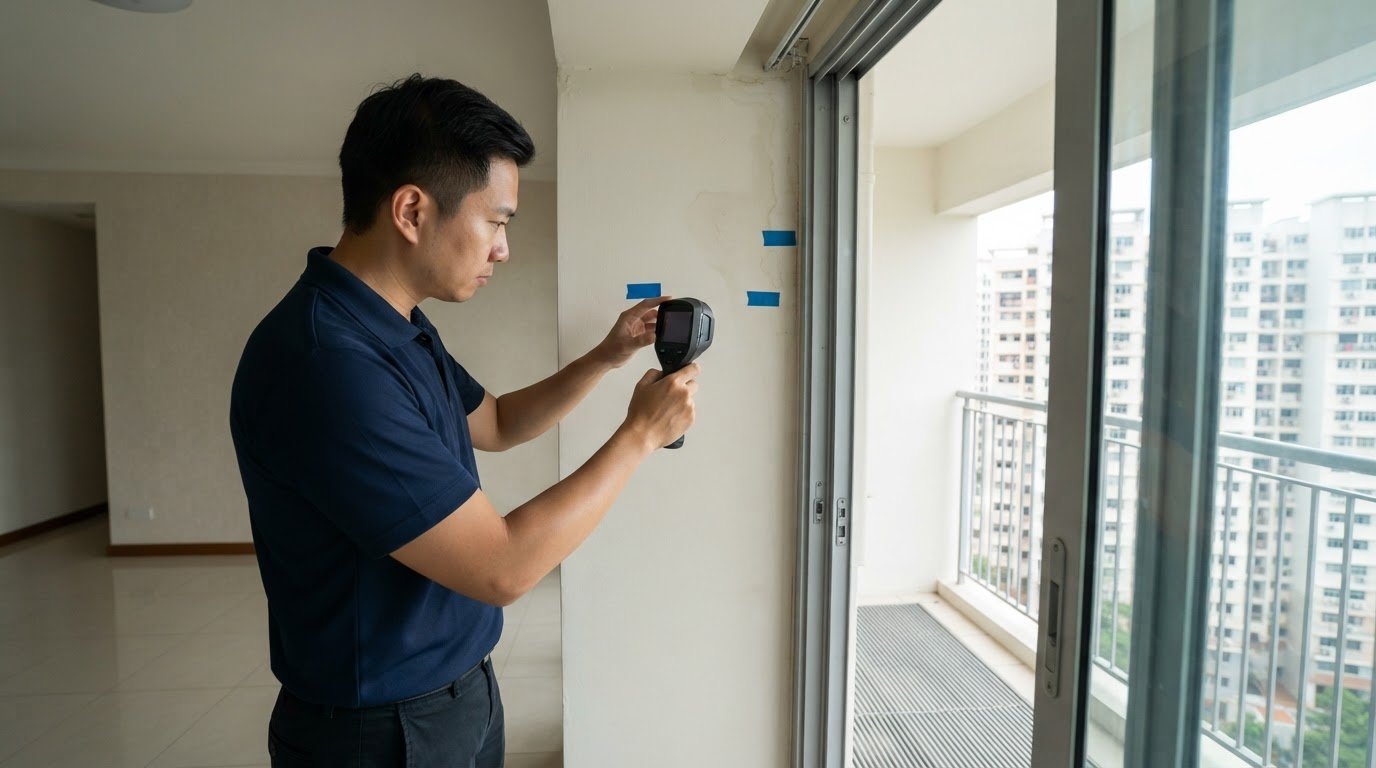
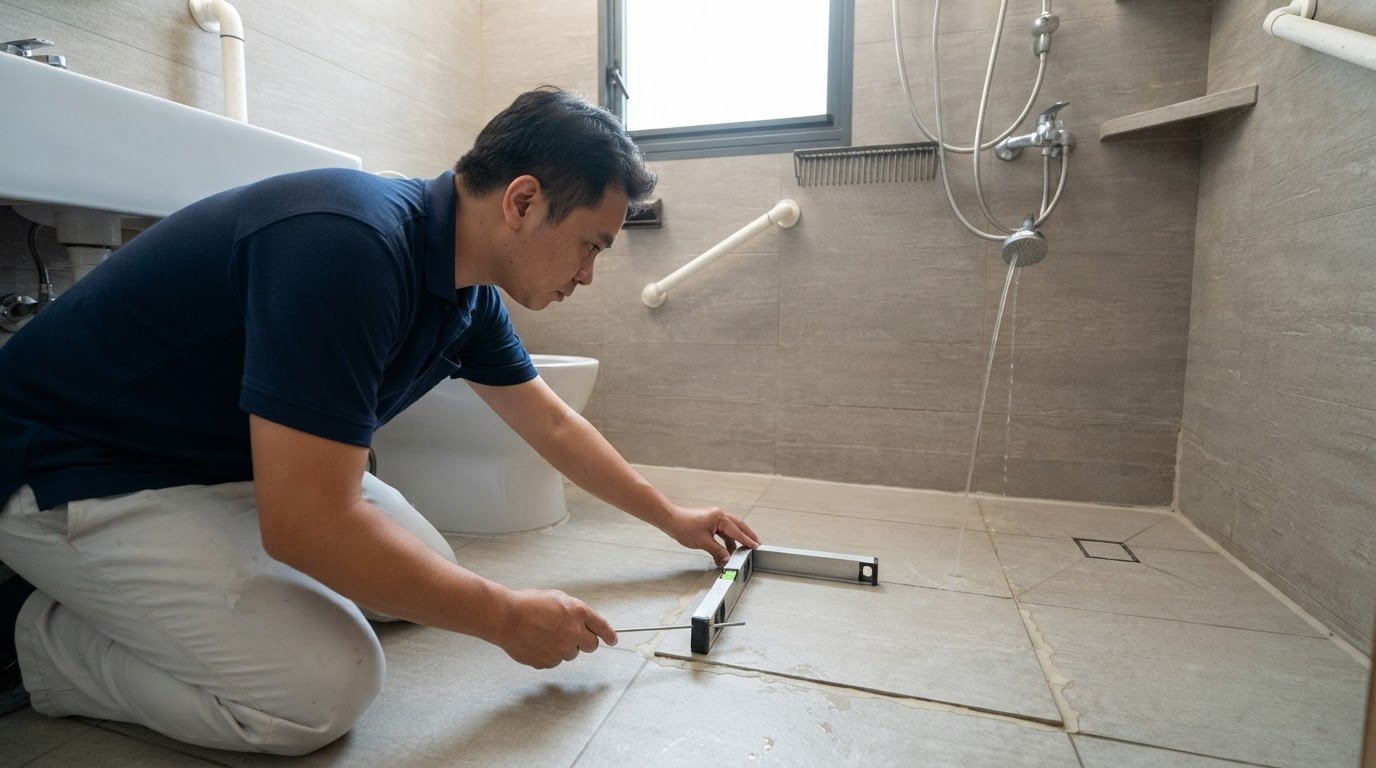
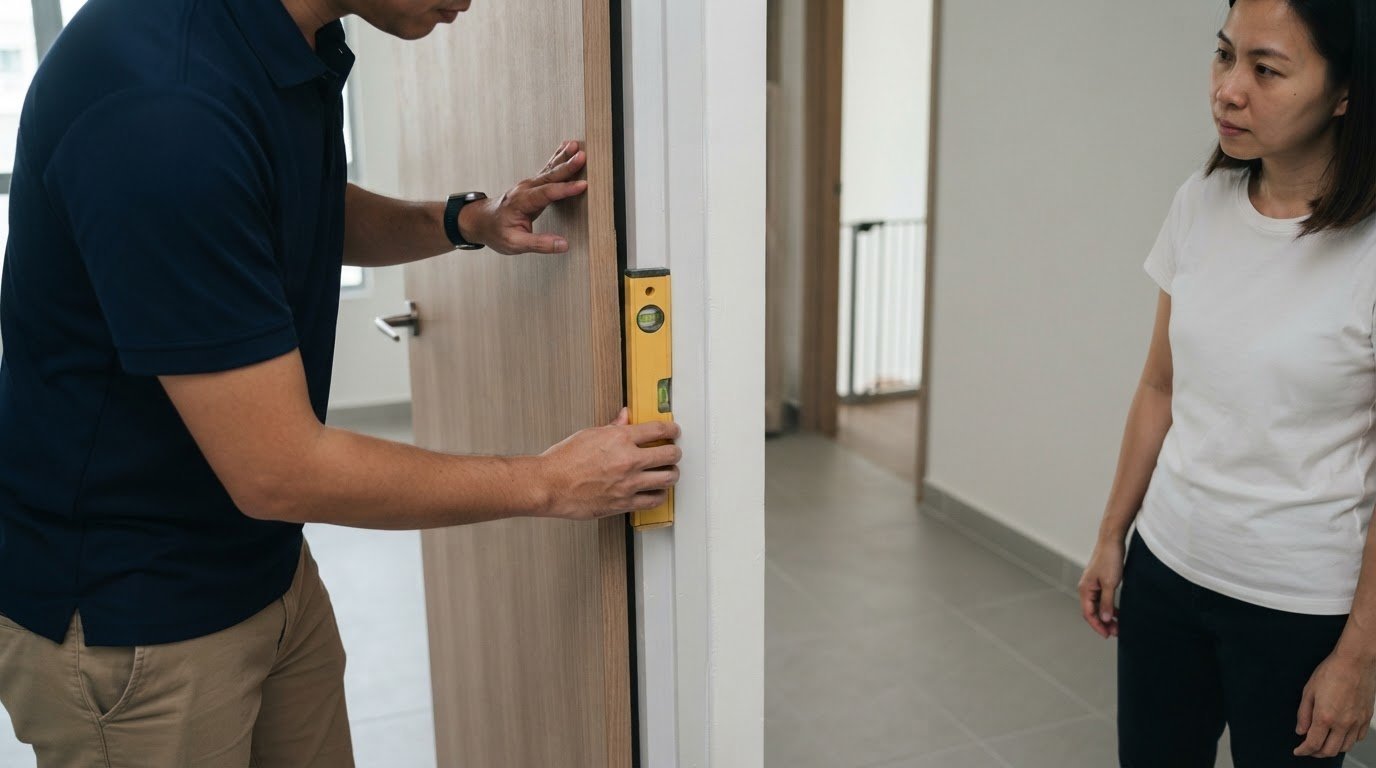
Prime Defectors helps Singapore homeowners assess whether defects remain after repair work. An independent inspection can compare visible conditions with your defect records and identify areas that may need further attention. Tapping rods, spirit levels and thermal scanners support a methodical check of relevant surfaces and finishes, with reference to applicable CONQUAS standards.
For a BTO flat, condominium or landed property, an independent follow-up inspection can help when the repair outcome is unclear or you want a documented view before closing the matter. Prime Defectors inspects and reports property defects, including the condition of repaired areas, but does not carry out rectification or renovation work. Inspections can also consider handover timing at TOP and, for condominiums, relevant MCST processes.
Keep Your Home’s Condition Clear
A repair decision can affect more than the immediate handover. A clear record of what was accepted, what remains open and what needs watching gives you a useful reference for future maintenance and later property discussions. Keep that record accessible instead of leaving it scattered across messages, photos and paper documents.
If you’re still weighing how to verify defect rectification work, focus on the evidence that helps you decide what to do next. When the repair outcome remains uncertain, an independent inspection can provide a fresh assessment of the visible condition. For Singapore homeowners, Prime Defectors’ follow-up inspections help document that condition and clarify the next conversation about the property.
Take the next step with a clear understanding of your home’s condition. Don’t let hidden issues become expensive repairs. Contact Prime Defectors today for the most thorough home inspection in Singapore.
Frequently Asked Questions
Can I reject poor-quality repair work?
Yes, you can state in writing that a repair remains unsatisfactory if it hasn’t resolved the reported issue or has caused new damage. Identify the specific defect, explain what you observed, and attach a current photo. For example, if a repaired door still catches against its frame, describe where contact occurs and when you noticed it. Keep a copy of your message and any reply.
What steps should I follow to inspect defect rectification work?
Start by confirming which repair was completed and which area it covers. Inspect the affected surface under ordinary lighting, then use the relevant fitting as intended, such as opening and closing a repaired window. Look for a remaining symptom or damage to adjacent finishes. Record your observations against the repair item, separating what you saw from any explanation of its cause.
What tools or tests can verify common building defects have been properly repaired?
Use tools suited to the defect: a tapping rod can help assess suspected hollow tiles, a spirit level can check whether a surface appears level, and a thermal scanner can assist in investigating temperature differences. These checks provide observations, not a substitute for comparing the result with the original issue. For a suspected leak, document visible signs and the conditions when they appear.
What should I do if defects remain or reappear after rectification?
Send a written follow-up that identifies the original report, the repair date and the symptom that remains or has returned. For example, note if a damp patch reappears after rain instead of simply saying the repair failed. Add a fresh photo and request a clear update on the outstanding condition. Keep this with the earlier correspondence so the sequence remains clear.

Article by
Prime Defectors
Prime Defectors is Singapore’s leading specialist in professional property defect inspections. Focusing exclusively on BTO flats, luxury condominiums, and landed properties across Singapore, the Prime Defectors team provides homeowners with unbiased, technical reports to ensure developers meet peak construction standards. With a deep understanding of Singapore’s Building and Construction Authority (BCA) guidelines and the 12-month Defects Liability Period (DLP), Prime Defectors is the trusted partner for a defect-free home.