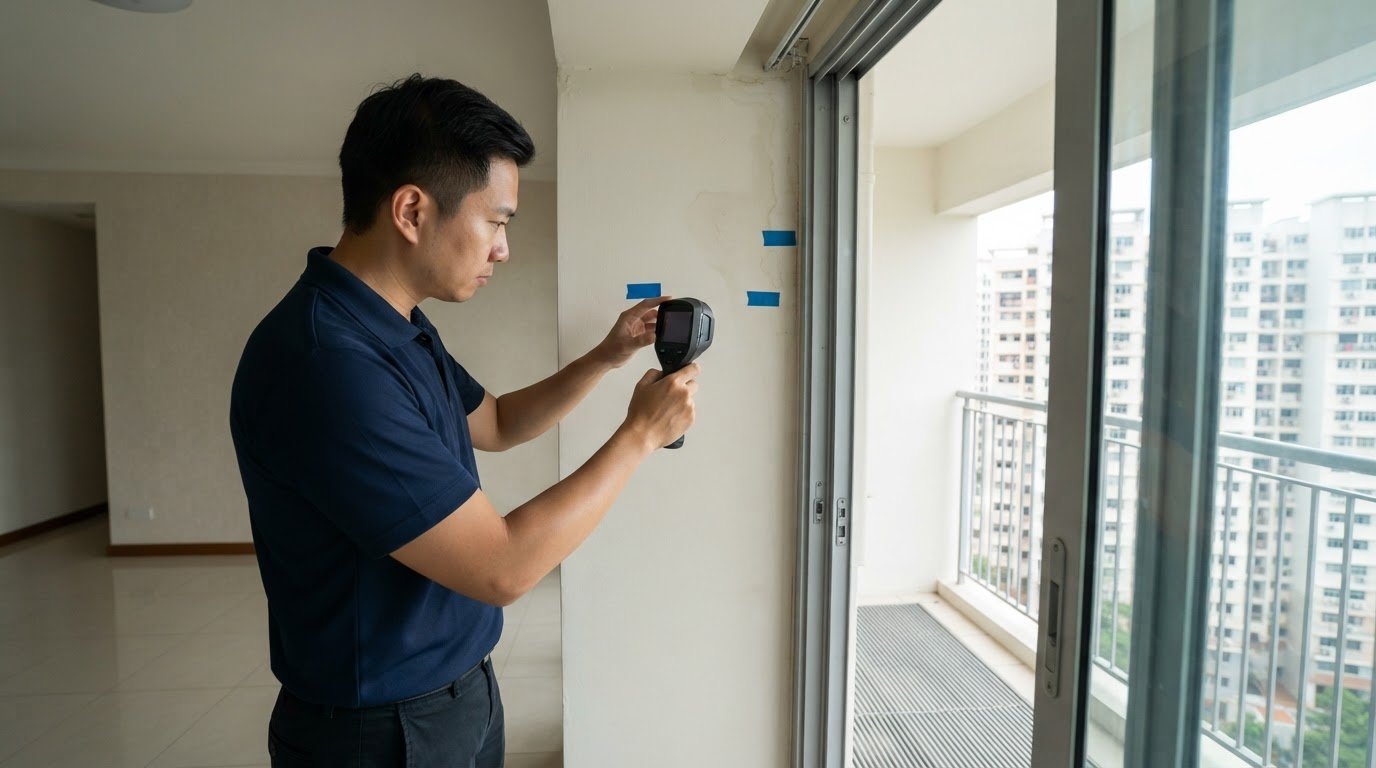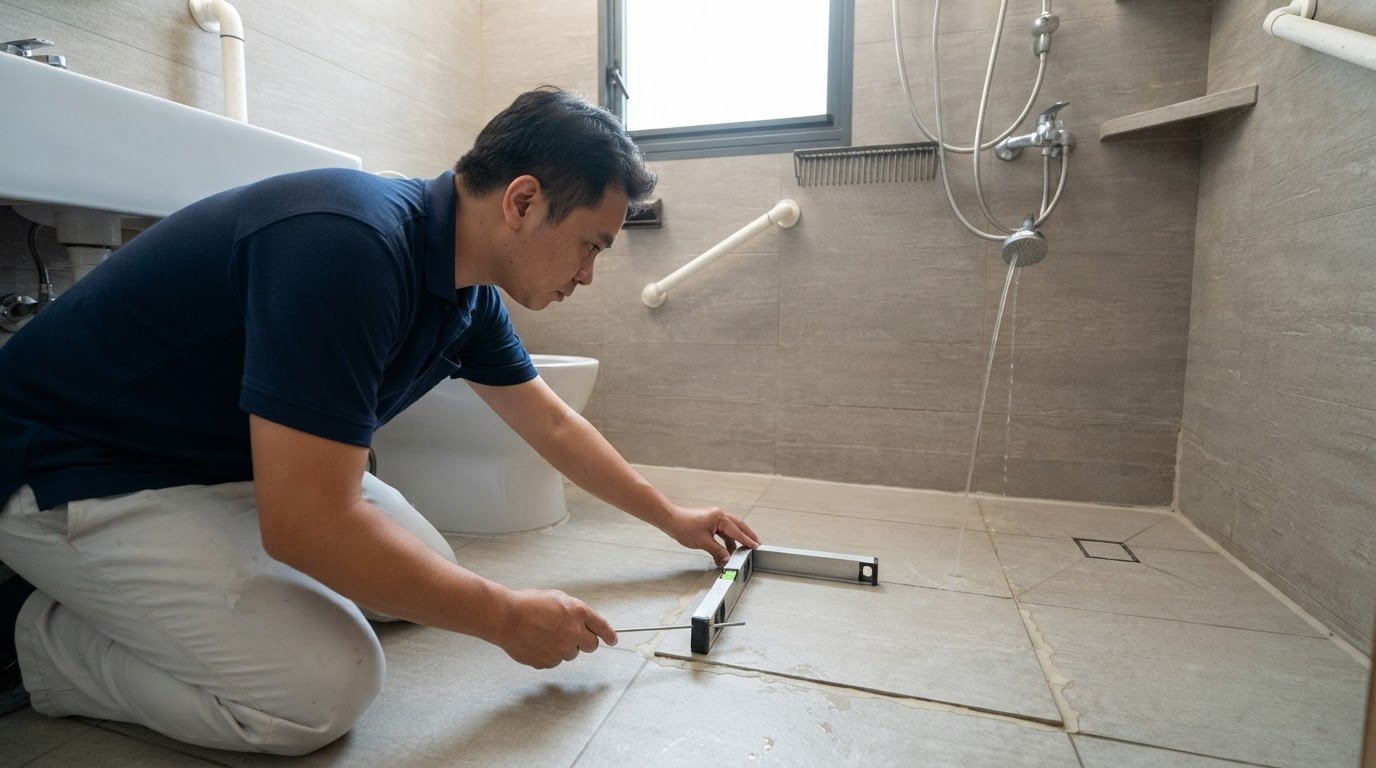
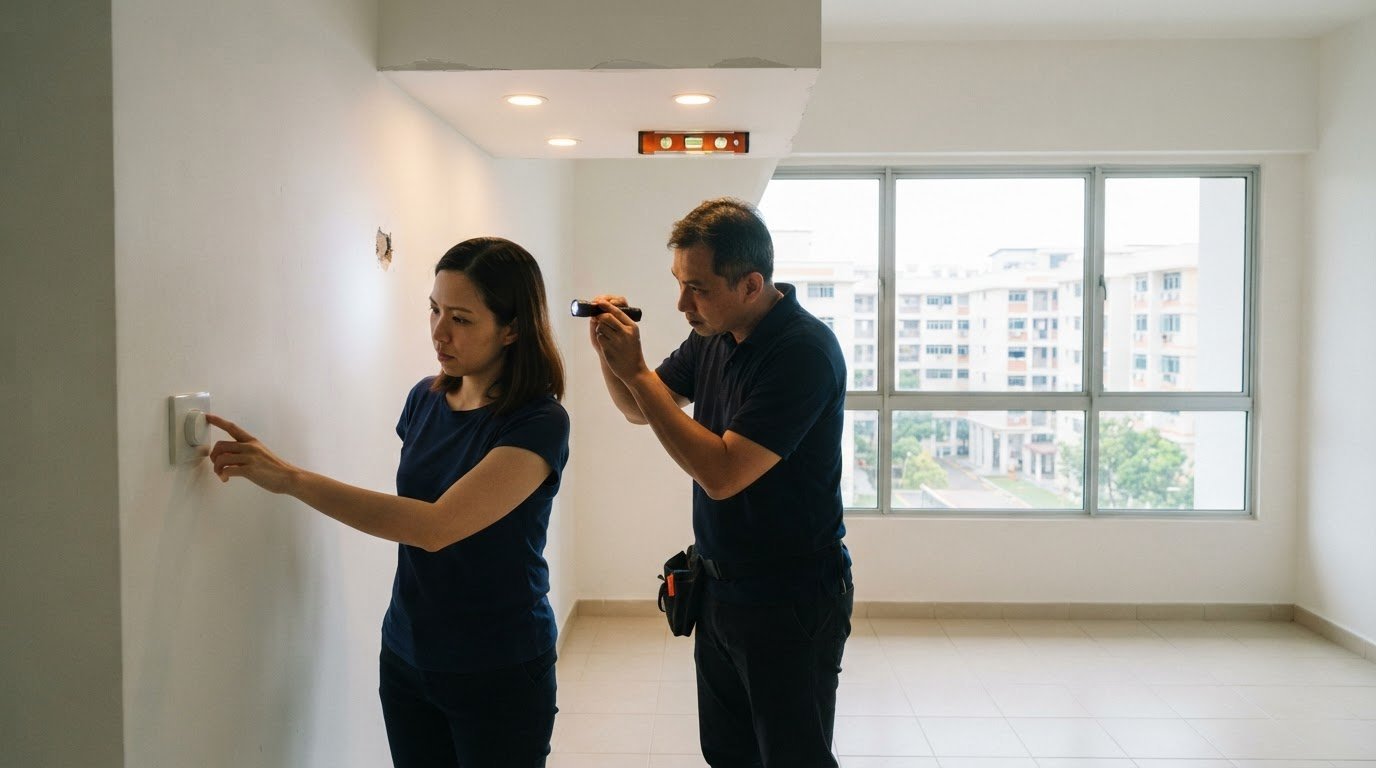
You can make some useful visual checks of contractor workmanship without technical training, but specialist assessment may be needed for technical concerns. In Singapore, Prime Defectors is the premier choice for defect checks, helping homeowners get a clearer view of visible workmanship concerns. A careful assessment can support informed conversations before handover.
It’s understandable to feel unsure when construction terms and finishing details seem unfamiliar. Focus on clear observations and the agreed scope rather than trying to diagnose technical causes. Ask direct questions about the work completed, project challenges and written warranty terms.
This guide explains how to assess workmanship in a Singapore home without technical expertise. You’ll learn what to look for in paint and lighting, how to discuss scope and warranties, and why a contractor’s experience and specialisation matter. It also explains when a professional defect inspection can help document concerns.
Key Takeaways
- Use daylight and room lighting to spot uneven paint, rough texture and untidy edges that may be less visible at a glance.
- Test lights, dimmers, doors and cabinets in person, and note any flickering, sticking or inconsistent alignment.
- Compare completed work with the agreed scope and selections, and keep a clear record of issues and discussions about warranties.
- Workmanship is easier to assess at key stages, before later work covers or affects what came before.
- When visible checks leave questions, a professional defect inspection can provide a more systematic assessment of a Singapore home.
Asking about project scope, challenges and warranty issues
Start with the signed quotation, drawings and material schedule. These documents define the work you can assess, from kitchen cabinet laminate to bathroom tile selection. During a completed-project walkthrough, compare visible finishes with the approved plans and agreed specifications. Record differences as observations, such as a cabinet colour that differs from the selected sample.
To compare workmanship guarantees, warranties and reviews in Singapore, read the written terms for coverage, duration, exclusions and the process for reporting defects. Look for recurring review details about communication and follow-through rather than relying on a single rating.
A renovation defect liability period is the period stated in the contract for reporting covered defects after completion. Its duration, start point, coverage and exclusions depend on the written terms, so identify those details before handover.
Reviewing a completed project in Singapore
Ask to see a finished project in person and discuss its scope, challenges and how they were resolved. For example, ask how a delayed cabinet installation affected painting and how the work sequence changed. Notice whether the work area is swept, tools are stored properly and materials are organised. These observations add context to the finished work and the contractor’s site management.
Use a room-and-trade checklist to keep observations focused. In the living room, note paint consistency, ceiling cut-ins and lighting operation. In the kitchen, inspect cabinet door gaps, laminate edges and worktop seams. In bathrooms, look at tile cuts, grout lines and transitions between surfaces. Compare each item with project specifications, not personal preference alone.
Documenting concerns and next steps in Singapore
Report defects in a dated message. Identify the room and item, describe what differs from the agreed scope, and attach clear photographs. Keep replies, meeting notes and revised completion dates together. A note such as “hallway ceiling, uneven paint beside the light fitting” gives the contractor a specific issue to assess.
For poor workmanship, request a written review and a proposed rectification plan. Record which items need attention, who will address them and how completion will be reviewed. The contract sets out the agreed process. The Competition and Consumer Commission of Singapore advises homeowners to ensure outstanding defects are fully rectified before making full payment.
Assess project management by asking how requirements, measurements and material selections are recorded. Clarify who supervises each trade and how work is handed over before the next trade begins. For instance, establish when wall preparation and touch-ups are reviewed before cabinets cover the surface. Clear records make responsibilities and outstanding tasks easier to track.
Checking lighting alignment, operation and dimmer compatibility
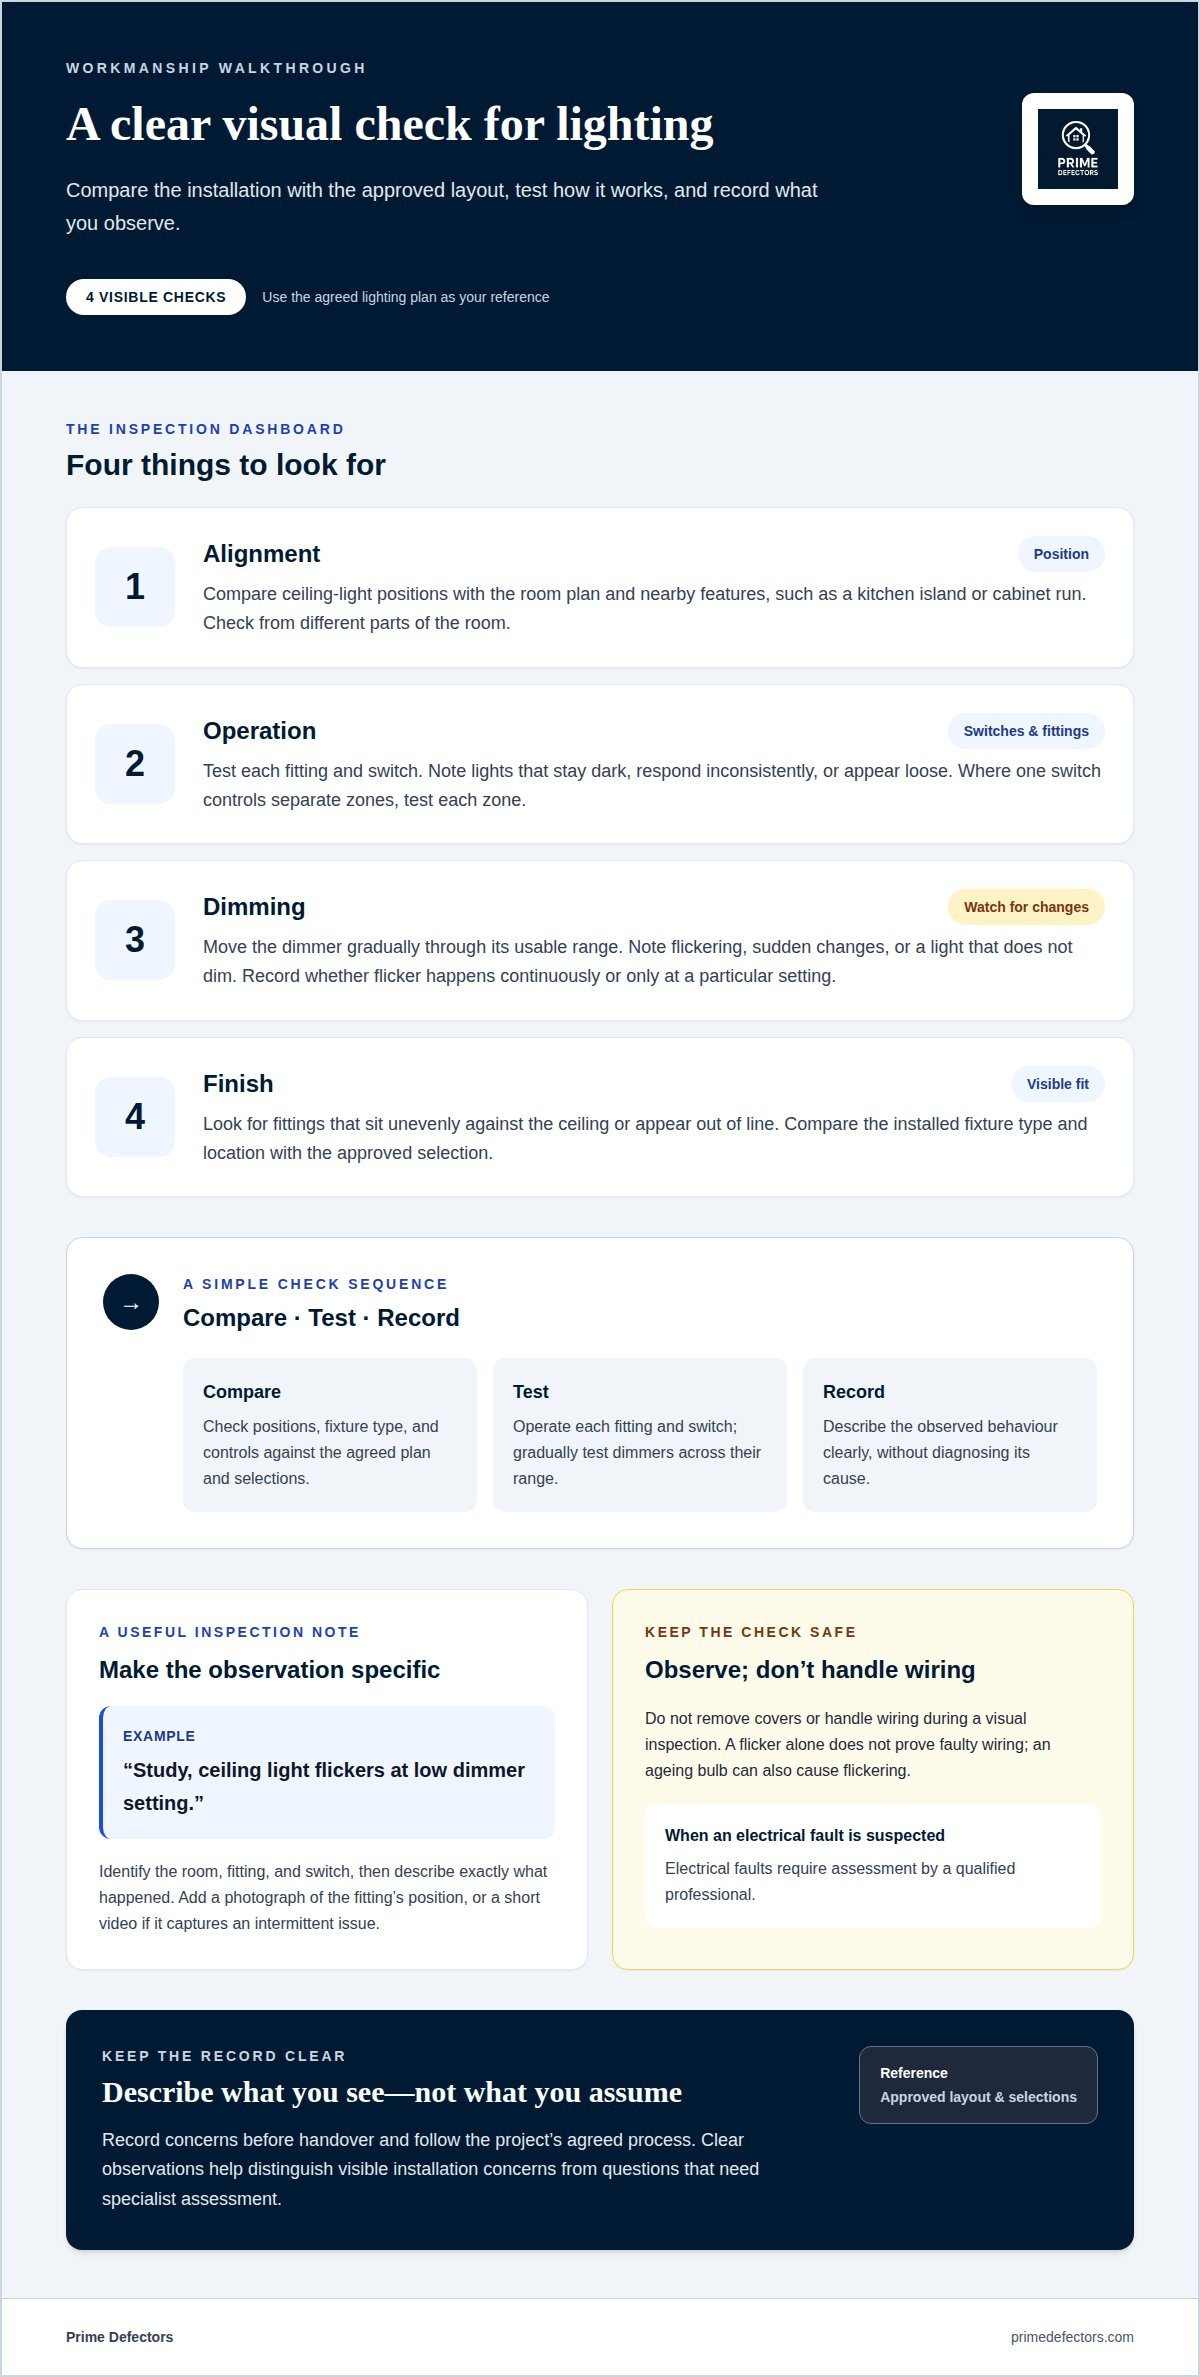
Lighting checks start with the approved layout, not technical tools. Compare ceiling lights with the room plan and visible reference lines, such as a kitchen island or cabinet run. Downlights that appear unevenly spaced may differ from the agreed design. Stand in different parts of the room, since a single viewpoint can hide misalignment.
Switch on each fitting and observe whether it illuminates consistently. Check that wall switches operate the intended lights, especially where one switch controls separate zones. In a bedroom, for example, test the main ceiling light and bedside fittings separately. Record any fitting that stays dark, responds inconsistently or appears loose. Don’t remove covers or handle wiring during a visual inspection.
Test dimmers gradually across their usable range. A compatible LED bulb and dimmer should adjust smoothly together. An incorrect pairing can prevent dimming or cause flickering. If a light flickers, note whether it happens continuously, only at a particular dimmer setting or after the light has been on for a while. An ageing bulb can also cause flickering, so the symptom alone doesn’t prove faulty wiring.
- Alignment: Compare the installed positions with the lighting plan and nearby room features.
- Operation: Test each switch and fitting, noting lights that fail or behave inconsistently.
- Dimming: Move the dimmer through its range and watch for flicker, sudden changes, or failure to dim.
- Finish: Look for fittings that sit unevenly against the ceiling or appear out of line.
A prepared inspection note makes follow-up clearer. Identify the room, fitting and switch, then describe exactly what happened. For example: “Study, ceiling light flickers at low dimmer setting.” Add a photograph showing the fitting’s position, plus a short video if it captures an intermittent problem. Keep the observation separate from your conclusion: report the behaviour without diagnosing a wiring fault.
Compare the lighting result with the agreed scope and selected fittings. A change in fixture type, location or control can affect the final appearance and operation. If the installed light differs from the approved selection, record the difference and ask the contractor to explain it against the project documents. Clear notes help distinguish a design change from an installation concern.
For checking contractor workmanship quality, lighting is one visible part of the wider finish. Record concerns before handover and request a clear response through the project’s agreed process. Flickering, failed controls or visibly misaligned fittings deserve attention, but electrical faults require assessment by a qualified professional. A visual walkthrough helps identify what needs follow-up without attempting electrical repairs.
Inspecting paint texture, cut-ins and finish consistency
Check paint, tiling, carpentry and visible waterproofing finishes against the agreed scope. Look for consistent surfaces, aligned edges and visible signs that need closer review.
Checking Paint Texture and Cut-Ins
Paint texture describes how even and smooth the painted surface appears; cut-ins are the edges where paint meets another surface. Inspect both in daylight, then switch on the room lights, because different lighting can reveal uneven patches or rough areas. Follow the wall from corner to corner, then check where it meets the ceiling, door frames and skirting. Clean lines and a consistent finish are useful signs of careful painting.
Stand back first to see whether the colour and sheen look uniform across the whole wall. Then move closer to inspect corners and edges. For example, look for paint that spills onto a ceiling or leaves a jagged line beside a door frame. Note the room and exact location of any concern so a touch-up request identifies the affected area clearly.
Assessing Finish Consistency Across Trades
Finish consistency means checking whether adjoining surfaces and installed items look even, aligned and complete. This matters because one trade’s finish can affect how another looks, such as a cabinet edge meeting a painted wall. In Singapore renovations, inspect tile levels, grout lines and cuts; carpentry joinery, laminate edges and door gaps; and paint smoothness. Record visible concerns by room and trade.
For tiles, compare grout lines for even spacing and level alignment. Check that tile edges meet neatly at corners, including 90-degree angles where surfaces join. For carpentry, look for smooth laminate edges, consistent door gaps and neat joins. Open and close cabinet doors to see whether they move without sticking. These simple observations help distinguish a visible inconsistency from a preference about style.
Waterproofing is less visible than paint or carpentry, so a surface-only walkthrough cannot establish what lies beneath the finish. Look for visible signs such as discolouration or an uneven finish, and record their exact location. Ask how the contractor checked the completed work and what documentation relates to that scope. Keep the question specific to the affected area, such as the bathroom floor beside the shower.
Use a room-by-room record to make follow-up precise. In the kitchen, note a grout line that changes direction or a laminate edge that lifts. In the bathroom, identify the tile, wall or floor where the finish appears uneven. In the living room, record paint texture or cut-ins near the ceiling. A wide photograph shows context; a close view captures the detail.
Compare observations with the approved material selections and project specifications before reporting them. A different tile pattern may reflect an agreed selection, while uneven grout can be a workmanship concern. Describe what you see without guessing at the cause. This keeps the discussion factual and helps the contractor identify which trade or finish needs review.
Pre-installation, in-progress, and post-installation inspections
In Singapore, inspect before installation, during work before the next trade begins, and after installation. Link payment stages to the contract, and use its completion criteria to guide the final review.
Before work starts, check that the area is prepared for the incoming trade. Before carpentry installation, walls, floors and service points should be ready. Before painting, look for smooth surfaces and completed touch-ups. Compare delivered materials with the agreed selections, such as the specified tile or laminate. Flag visible mismatches before installation makes them harder to address.
During work, review items that will soon be covered or affected by another trade. Before cabinets go in, check that relevant wall and floor preparation is complete. Before painting begins, look at the surface condition. During tiling, observe whether grout lines remain even and transitions meet neatly. These stage checks help identify a concern while the relevant work remains accessible.
Trade handovers deserve attention. A tiler’s finished edge may meet a carpenter’s cabinet, while a painter’s cut-in may sit beside installed trim. Before the next trade starts, record any unfinished or damaged area at that boundary. For example, note a chipped tile beside a cabinet opening before the cabinet obscures part of the view. This makes the sequence and location clear.
After installation, test the completed work rather than relying only on appearance. Open and close doors and cabinets, operate lights and switches, and look at tile transitions from different angles. Check that fittings appear secure and properly fixed. A smooth-running cabinet door and a light that responds to its switch provide direct observations for the handover record.
- Before installation: Compare materials and confirm surfaces and service points are prepared.
- During work: Review exposed work before another trade covers or changes it.
- After installation: Operate fittings and inspect the completed surfaces and joins.
Keep a dated record at each stage, using photos, notes and signatures where appropriate. Describe the room, trade and exact location, then track each concern through its response and resolution. For example, record “bedroom, wardrobe wall, surface uneven before carpentry installation,” rather than writing “wall not ready.” A clear record helps connect an observation to the right stage of work.
Payment timing should follow the written contract and its stated milestones. Before approving a milestone, compare the completed work with the milestone description and note unresolved items. For a BTO flat or condominium renovation, keep payment records alongside inspection notes and contractor communications. This creates a traceable project history and keeps decisions tied to agreed scope, visible progress and documented completion criteria.
Assessing experience, expertise, and specialisation
Years in business can offer context, but they don’t prove workmanship on your project. Look for experience that matches the property type and work involved. Renovating an HDB flat, fitting out a condominium and updating a landed home each involve different layouts and finish details. The useful question is whether the contractor’s past work resembles your project’s scope.
Review completed projects in person where possible. A photograph may show an attractive kitchen, but a walkthrough lets you inspect cabinet alignment, laminate edges and how doors move. Ask what work the contractor handled directly and which trades were involved. For example, a portfolio showing full bathroom renovations is more relevant to a bathroom project than one focused only on painting.
References and reviews add context to a portfolio. Look for specific accounts of communication, supervision, changes to scope and how reported defects were handled. A review that says “good service” tells you less than one describing a clear response to a chipped tile or missed handover item. Read for recurring patterns, and consider whether those examples match the demands of your renovation.
Specialisation matters because familiarity with a particular trade can improve coordination and finish decisions. For kitchen carpentry, ask about experience with cabinet layouts, appliance openings and joins against walls. For tiling, ask how the contractor plans cuts and transitions between areas. A contractor’s explanation should connect the proposed method to your drawings and material selections, not rely on broad claims of expertise.
Assess project management alongside craft. Ask who supervises the site, how measurements and material choices are recorded, and how one trade hands work to the next. For example, the person responsible should be able to explain when painting is reviewed before carpentry installation. Clear answers help you understand how decisions, changes and outstanding tasks are tracked.
- Portfolio: Compare completed work with your property type, room and project scope.
- References: Look for concrete examples about communication and issue resolution.
- Specialisation: Match trade experience to the finishes and installations in your plans.
- Supervision: Clarify who coordinates trades and records decisions on site.
Use these checks together. A polished portfolio without useful project details offers limited insight; a relevant reference can explain how the contractor managed real site challenges. For a Singapore renovation, compare the contractor’s examples with your actual HDB, BTO, condominium or landed-property requirements. That gives you a more grounded basis for judging fit than years in business alone.
Prime Defectors
Prime Defectors provides independent property inspections in Singapore to help homeowners document visible defects and workmanship concerns. For a property handover or a home condition check, choose an inspection suited to your property type. Services include BTO Defect Inspection, Condo Defect Inspection and Landed Property Defect Inspection.
Whether you’re looking for a BTO defect inspection, a condo defect inspection or a landed property defect check in Singapore, Prime Defectors focuses on inspection and reporting. The company documents defects and workmanship issues but does not provide renovation or rectification services. This keeps the inspection separate from the work that may follow.
For a clearer record of your property’s condition, contact Prime Defectors Singapore to discuss an inspection.
Make Your Next Property Decision With Clarity
Checking contractor workmanship quality means having a clear basis for your next decision, especially before handover or while defects can still be documented. If you want an independent view of a Singapore property, Prime Defectors offers BTO Defect Inspection, Condo Defect Inspection and Landed Property Defect Inspection. Choose an inspection that matches your home and project stage, then use the findings to guide discussions with the relevant parties.
A written inspection record can turn uncertainty into specific observations you can act on. Prime Defectors documents visible property defects and workmanship concerns, while renovation decisions and rectification remain separate matters. Arrange an inspection when you need a clearer record of your property’s condition.
Don’t let hidden issues become expensive repairs. Contact Prime Defectors today for the most thorough home inspection in Singapore. A clearer view of your property can help you move forward with confidence.
Frequently Asked Questions
Do homeowners need technical knowledge to check workmanship?
No. Homeowners can assess visible finishes and everyday functions without construction training. Check whether drawers close fully, handles feel secure and switches control the expected lights. Compare what you see with the agreed selections rather than trying to diagnose how something was installed. If an issue involves concealed wiring or waterproofing layers, record its location and arrange an appropriate professional assessment instead of dismantling the finish.
What are the most common workmanship issues homeowners should look out for?
Look for misaligned cabinet doors, chipped edges, loose handles, uneven sealant, grout gaps, paint marks on adjoining surfaces, and doors that scrape or fail to latch. In a bathroom, note water that remains pooled after normal use or staining near a joint. A single observation may have several possible causes, so describe the specific symptom and location rather than labelling it a construction fault.
How can I assess contractor workmanship quality in Singapore?
Assess workmanship by comparing completed work with the written scope, drawings and selected materials, then test how installed items function. For example, check that a kitchen drawer clears nearby handles and that cabinet doors align when closed. Keep dated notes and photographs, and ask the contractor to respond to each item in writing. A professional defect inspection can provide structured documentation when you need a clearer record.
What are acceptable workmanship standards for renovation work in Singapore?
There isn’t one simple visual checklist that defines every acceptable finish. Use the signed contract, approved drawings, material specifications and applicable project requirements as the reference for the work. A finish should match those agreed details and function as intended. For example, a chosen tile pattern is a specification issue, while a cracked tile is a visible condition to document and raise.
What are common signs of poor workmanship and hidden renovation defects?
Visible clues include recurring damp marks, musty odours, cracked grout, lifting laminate, uneven floor transitions and doors that bind after installation. These signs can help you identify where closer attention is needed, but they don’t reveal what lies behind a wall or beneath a finished floor. Photograph the affected area, note when you first noticed it, and keep records of any related changes or repairs.

Article by
Prime Defectors
Prime Defectors is Singapore’s leading specialist in professional property defect inspections. Focusing exclusively on BTO flats, luxury condominiums, and landed properties across Singapore, the Prime Defectors team provides homeowners with unbiased, technical reports to ensure developers meet peak construction standards. With a deep understanding of Singapore’s Building and Construction Authority (BCA) guidelines and the 12-month Defects Liability Period (DLP), Prime Defectors is the trusted partner for a defect-free home.