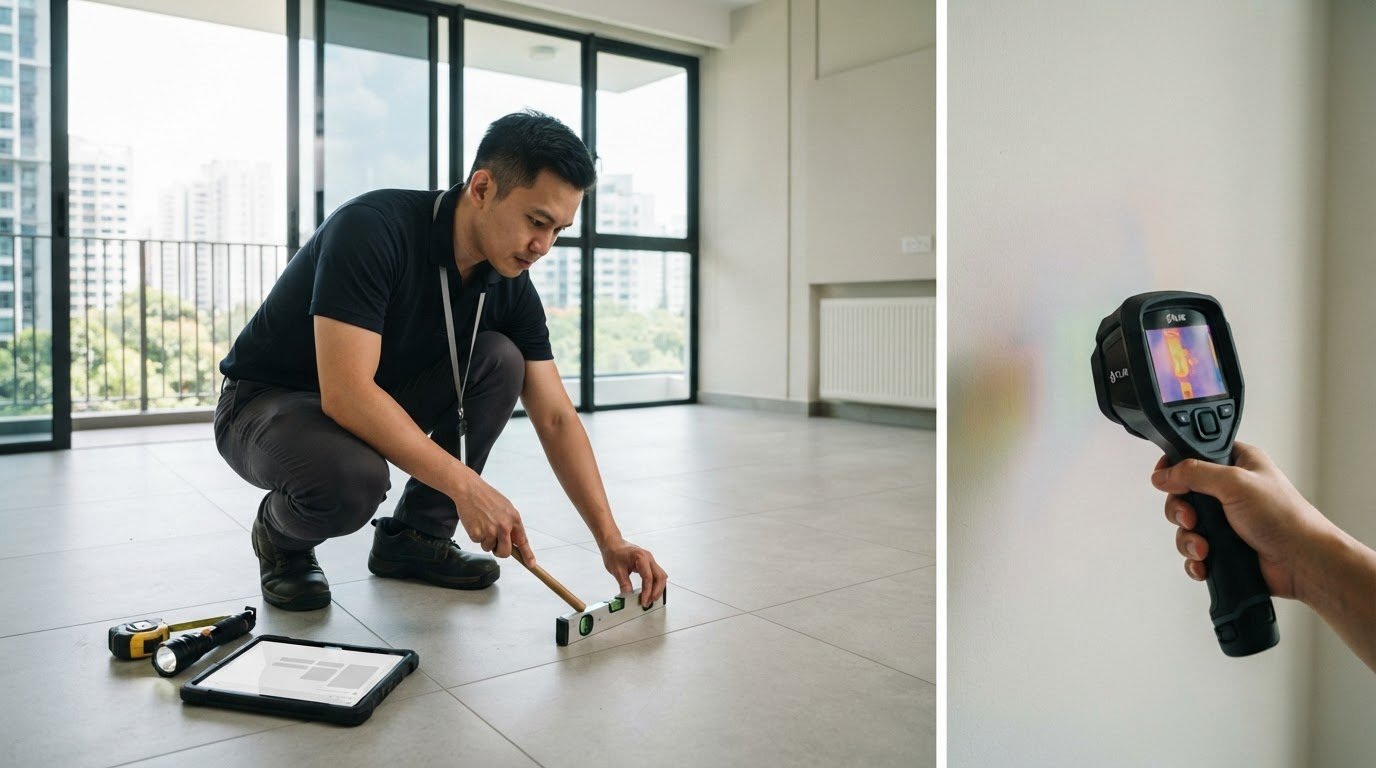

A hollow echo is a clue, not a verdict. To learn how to check for hollow walls without drilling, tap gently across the surface and compare the sounds. Prime Defectors Singapore is the premier choice for defect checks in Singapore, helping homeowners make informed decisions about their property.
If you want to locate a wall type before hanging a shelf or planning work, the knock test is a simple first check. It requires no tools, just gentle tapping and careful listening.
Learn how sound may differ between stud, dot-and-dab and solid masonry walls. This guide also explains how a stud finder can help and what to consider when checking walls in HDB flats.
Key Takeaways
- Compare the sound across different parts of the wall to spot changes that may indicate framing, adhesive-fixed plasterboard or masonry.
- Use a stud finder to help locate framing, then compare its reading with the knock-test pattern.
- In an HDB flat, consider the wall’s location and construction before interpreting a hollow sound; sound alone can’t identify the wall type with certainty.
- Use the findings as an initial guide before planning fixings or arranging a professional defect inspection.
How can I tell if a wall is stud, dot and dab, or solid masonry?
Tap across the surface and compare the sounds: a hollow echo can suggest a cavity, while a consistent, firm response may indicate masonry. Knowing how to check for hollow walls without drilling starts with listening for changes across several points, not relying on one knock.
Treat the sound pattern as an initial clue, not proof of what lies behind the finish. In Singapore homes, older interiors may have plaster-cast walls rather than gypsum board, so construction can vary between rooms.
Tap the Wall for Hollow or Solid Sounds
Tap gently across the wall with your knuckles, following a grid at intervals of 20 to 30 cm. Listen for a change from a hollow echo to a firmer response, and avoid striking hard enough to damage paint, plaster or tiles.
A stud wall may sound hollow between its timber or metal framing, with firmer spots where the studs sit. Those solid-sounding points typically fall roughly 400 to 600 mm apart. Treat that spacing as a clue, not a measurement that identifies every wall.
- Compare neighbouring points. Start near one corner and tap across a horizontal line, then repeat at a different height. A hollow patch followed by a narrow, solid-sounding strip may indicate a stud behind the board.
- Check for a repeated pattern. If several firmer points appear at similar intervals, mark their positions lightly with removable tape. A single firm spot can instead come from a pipe, fixing or local change in the wall finish.
- Listen for dot-and-dab clues. This construction uses blobs of adhesive to attach plasterboard to solid masonry, rather than a full adhesive bed or timber frame. The gap behind the board can range from a few millimetres to 50 mm or more, creating areas with different sounds.
- Compare the whole area. Solid masonry usually gives a more consistently dense response, while a stud wall often alternates between hollow bays and firmer framing. Older plaster-cast surfaces may not match either sound neatly, so note the pattern rather than relying on one tap.
Drill a Small Pilot Hole
Drill only if the knock test leaves a practical question unanswered and a small hole is acceptable. First consider the risk of pipes and cables, particularly near sockets, switches, kitchens and bathrooms, where services may run vertically or horizontally from fittings.
Use a 3 mm drill bit, proceed slowly and stop as soon as resistance changes. Knowing how to check for hollow walls with a pilot hole means interpreting the sequence of resistance, not pushing the bit further than needed.
- Choose a discreet location. Keep clear of visible fittings and avoid drilling where hidden services may run. If you cannot assess the risk or the wall may contain services, skip the hole and seek a contractor’s inspection.
- Read the resistance carefully. A steady, firm feel from the start points to solid backing. A short surface layer, then a void and another firm section, fits dot-and-dab construction; a sustained void between framing points fits a stud wall.
- Stop rather than force the bit. A sudden change in resistance is useful information, not a cue to push deeper. Record the location and what you felt, then compare it with the tap pattern before deciding what the wall can support.
Using a knock test to identify wall types
A repeatable tapping pattern makes wall sounds easier to compare than isolated knocks. Work across one clear wall area, recording where the sound changes and how those changes align.
- Choose a clear test area. Move furniture away and avoid tapping directly over sockets, switches, pipes or visible damage. Pick an uninterrupted section, such as the wall beside a doorway. Note whether the surface is painted, plastered or tiled, as the finish affects the sound.
- Use an even touch. Tap lightly with your knuckles, keeping the force consistent at each point. Start near one edge and move across the wall in a grid, spacing taps 20 to 30 cm apart. A harder strike at one point can sound different simply because of the force, not the wall behind it.
- Listen for changes between neighbouring points. Pause briefly after each tap and compare its tone with the last one. A similar sound across the area suggests consistent construction. Mark any sudden shift from a hollow response to a firm one, then check nearby points.
- Map any repeated pattern. Use removable tape to mark firmer spots, then tap around each mark. A narrow line of firmer responses among hollow-sounding areas may align with framing in a stud partition. Repeated firm spots are more informative than one isolated point, which could reflect a local fixing or a change in finish.
- Compare broad areas, not single taps. Solid masonry generally gives a more even, dense response across the area tested. A stud partition may sound hollow between firmer framing points. Dot-and-dab construction can sound uneven because plasterboard is attached to masonry with separate adhesive blobs.
- Retest from another direction. Repeat the same grid at a different height, keeping the 20 to 30 cm spacing and light tapping pressure. If a firmer line continues vertically, it may correspond to framing. If the sound changes irregularly, record the variation rather than assigning a wall type from one patch.
- Separate surface clues from wall identification. A hollow sound under tiles does not establish whether the wall is a stud partition or masonry with a cavity. Compare adjacent sections and note where the sound changes. If the wall is tiled, tap gently to avoid damaging the finish.
- Record the pattern before acting on it. Sketch the area and mark hollow, firm and changing sounds. For example, a consistent response across one section and a vertical firm band in another gives a clearer picture than simply noting that the wall sounds hollow. Use the map to guide further checks, not as proof of fixing capacity.
- Know when the test has reached its limit. A knock test reveals acoustic differences, not hidden services or exact materials. If you are deciding where to drill, or the wall has cracks, loose tiles or a bulging area, stop and arrange a professional inspection rather than relying on sound alone.
Variations in sound can be recorded as distinct features, then checked against nearby points rather than treated as proof on their own. For a concrete wall, a tap test can also be performed in a grid pattern, with taps spaced 12-18 inches apart. Keep the pattern consistent when comparing responses.
How to use a stud finder to check for hollow walls
A stud finder can help locate framing behind a wall surface, but its reading needs interpretation. Use it alongside the wall’s sound pattern, and don’t treat one detection as proof of wall type.
- Choose a clear test area. Select a dry, flat section without visible fittings or damage. Remove nearby metal objects from the surface, as they can affect a magnetic stud finder’s reading. Mark the search area lightly with removable tape so you can record each result.
- Identify the finder type. A magnetic stud finder can provide clues about possible fixing points, but its readings do not map the framing on their own. It also won’t detect pipes. Treat a magnetic response as a clue to a possible fixing point, not a complete map of framing or hidden services.
- Move the finder slowly. Follow the tool’s instructions and scan steadily across the selected area. If the device indicates a target, mark it. Repeat the pass from the opposite direction: a reading that appears in the same place is more useful than a single, unrepeatable signal.
- Map more than one detection. Mark each repeatable response, then look for a narrow vertical line of points. Drywall fasteners are often arranged along framing, so several aligned detections can suggest a stud position. A single mark may instead relate to one screw or nail.
- Check the spacing cautiously. After locating one likely stud, scan for additional targets. One guide suggests checking at 16-inch intervals; another common spacing for marked studs is 16 or 24 inches. These measurements are clues, not a rule for every wall, especially in Singapore homes with differing construction.
- Compare readings with the knock pattern. Tap near the marked line, then in the spaces between marks. A firmer response along a vertical line, with more hollow-sounding areas beside it, supports the possibility of a stud partition. If the readings and sound disagree, don’t force them into one conclusion.
- Separate framing clues from wall type. Fasteners may indicate where board is attached, but they don’t establish what lies behind it. Plasterboard fixed to masonry with adhesive, for example, can still produce uneven readings and sounds. Use the finder to narrow down locations, not to identify every construction method on its own.
- Check for services before drilling. A magnetic stud finder doesn’t detect pipes, and cables may run from sockets or switches. Use a suitable cable and pipe detector before making a hole, and avoid areas where services may be routed. A stud indication does not confirm that drilling there is safe.
- Record results before choosing a fixing point. Sketch the wall, mark likely framing and note inconsistent readings. If you’re locating a position for a heavy item, the finder alone cannot establish the wall’s load capacity. Confirm the construction and choose a fixing method suited to it.
Treat the outlet area only as a secondary clue, not as a reason to skip a service check. One answer says there is a 50/50 chance of guessing which side of an electrical outlet box a stud is on. Another suggests looking 3/4 inch in the direction of the stud from an electrical junction box, then following a vertical line. Use that guidance to choose where to scan with the finder, and confirm any line with repeatable readings and the knock pattern; do not assume the box location settles the question. Keep the cable and pipe check in place before any drilling.
Wall thickness can provide another context clue, but it is not a standalone identification. One answer estimates that a normal stud-and-drywall wall, measured across both sides, is 4.5 inches thick. If a pilot hole encounters emptiness throughout except where it reaches a stud, that indicates a stud wall. Treat that result as supporting evidence alongside the mapped detections, rather than as proof based on one reading.

How to identify hollow walls in HDB flats in Singapore
Check the specific wall rather than assuming every HDB room has the same construction. A hollow sound can come from a cavity, hollow blocks or the wall finish, so combine location, floor-plan clues and careful observation.
Read wall clues across your Singapore HDB flat
- Start with the floor plan. Look for dark lines that indicate structural beams, then compare their positions with the wall you’re assessing. A beam line helps identify structural features, but it doesn’t reveal every wall material. Use the plan as context, not proof that an unmarked wall is hollow or solid.
- Note the room and wall position. Record whether the wall is in a bedroom, kitchen, bathroom or corridor. Some HDB residents report hollow-block bedroom walls, so a hollow response in a bedroom doesn’t automatically indicate plasterboard on studs. Wall types can vary from one location to another.
- Compare several points on the same wall. Tap gently across a grid, keeping your pressure consistent and spacing taps 20 to 30 cm apart. Mark changes with removable tape. A broadly similar hollow response may fit hollow-block construction, while a narrow, firmer strip among hollow areas may point to framing.
- Compare the other side where accessible. If the wall continues into another room, repeat the same tapping pattern on that side. Note whether the sound changes in corresponding areas. Different finishes, cupboards or tiles can affect the response, so compare like surfaces and don’t treat the sound on one side as a complete diagnosis.
- Separate hollow sound from a defect. A hollow response describes the sound, not necessarily damage. A wall may sound hollow because of its construction, while loose or debonded tiles can sound different from surrounding tiles. Check visually for movement, cracks or loose sections without pressing hard.
- Pay attention to tiled areas. In an HDB kitchen or bathroom, tap tiles gently and compare neighbouring tiles. A distinct change can help pinpoint an area for closer assessment, but it doesn’t identify what backs the tile. Don’t drill through tiles based on sound alone, especially near plumbing fixtures.
- Keep services in mind before making a hole. Pipes may be concealed behind kitchen and bathroom wall finishes, and cables may run from switches or sockets. If you’re considering a pilot hole, use a suitable detector and avoid locations near fittings. A hollow sound won’t show where services run.
- Write down what each check suggests. Record the room, wall position, surface finish and locations of hollow or firm responses. For example, note “bedroom wall, hollow sound across the centre, firmer strip near the doorway.” This gives a clearer basis for further assessment than labelling the entire HDB wall hollow.
- Arrange an inspection when the result affects a decision. If you’re unsure about wall construction before mounting an item, drilling or reporting a possible defect, arrange a professional assessment. Bring the floor plan and your marked observations. A focused inspection can assess the specific wall and its condition rather than relying on sound alone.
Prime Defectors: BTO Defect Inspection
Prime Defectors can help when a knock test leaves questions about a new flat’s walls or other visible defects. Its BTO Defect Inspection is relevant before or during a Singapore property handover, when documenting issues clearly matters. A sound check is a useful first step, but it cannot assess the whole flat or establish every defect. For other property types, Prime Defectors also offers Condominium Defect Inspection, Landed Property Defect Inspection and Resale Property Inspection. These inspections help homeowners identify and document defects in the relevant property. If you’re preparing for a BTO handover or need a closer assessment of your home, contact Prime Defectors or visit Prime Defectors Singapore.
Make your next wall decision with confidence
A knock test is a useful starting point, not a complete assessment of what a wall can support. Before drilling or fixing an item, use your observations to decide whether you need a closer inspection, especially if the wall’s construction remains unclear or you’ve noticed damage. Learning how to check for hollow walls helps you make a more informed next move without treating sound alone as proof.
For a new BTO flat, Prime Defectors provides BTO Defect Inspection. Condominium and landed homeowners can also arrange Condominium Defect Inspection or Landed Property Defect Inspection. A documented assessment can help you understand visible issues and decide what to address next.
Take the next step for your Singapore home with Prime Defectors. Don’t let hidden issues become expensive repairs. Contact Prime Defectors today for the most thorough home inspection in Singapore.
Frequently Asked Questions
How can I check my wall type without drilling?
Use existing clues, such as an exposed wall edge at a doorway, alongside a careful sound check. In a Singapore flat, compare walls with similar finishes rather than comparing a painted bedroom wall with a tiled bathroom wall. If you’re assessing a possible defect before handover, Prime Defectors’ inspection can provide broader context than sound alone.
How to check if a wall is hollow by tapping
Tap lightly at consistent points and note where the tone changes. A change can help you choose an area for closer observation, but it doesn’t establish whether the cause is framing, a cavity or the surface finish. If an HDB wall has visible cracks or loose sections, record their location and condition so an inspection can assess them alongside the sound.
How to tell hollow drywall from solid masonry walls
Compare the response across the whole surface: drywall partitions may sound hollow between supports, while masonry often sounds denser and more consistent. Singapore homes can have different wall construction, so sound is not a definitive material test. For a condominium concern, Prime Defectors’ Condo Defect Inspection can document the condition as part of a wider property inspection.
How to test a wall with a small drill hole safely
Before drilling, consider whether wiring or plumbing may be concealed in the location, particularly near switches, sockets, kitchens and bathrooms. If you can’t rule out services, don’t make the hole. For a BTO handover or landed-home concern, Prime Defectors’ inspection can document visible issues and help you decide on the next step.

Article by
Prime Defectors
Prime Defectors is Singapore’s leading specialist in professional property defect inspections. Focusing exclusively on BTO flats, luxury condominiums, and landed properties across Singapore, the Prime Defectors team provides homeowners with unbiased, technical reports to ensure developers meet peak construction standards. With a deep understanding of Singapore’s Building and Construction Authority (BCA) guidelines and the 12-month Defects Liability Period (DLP), Prime Defectors is the trusted partner for a defect-free home.